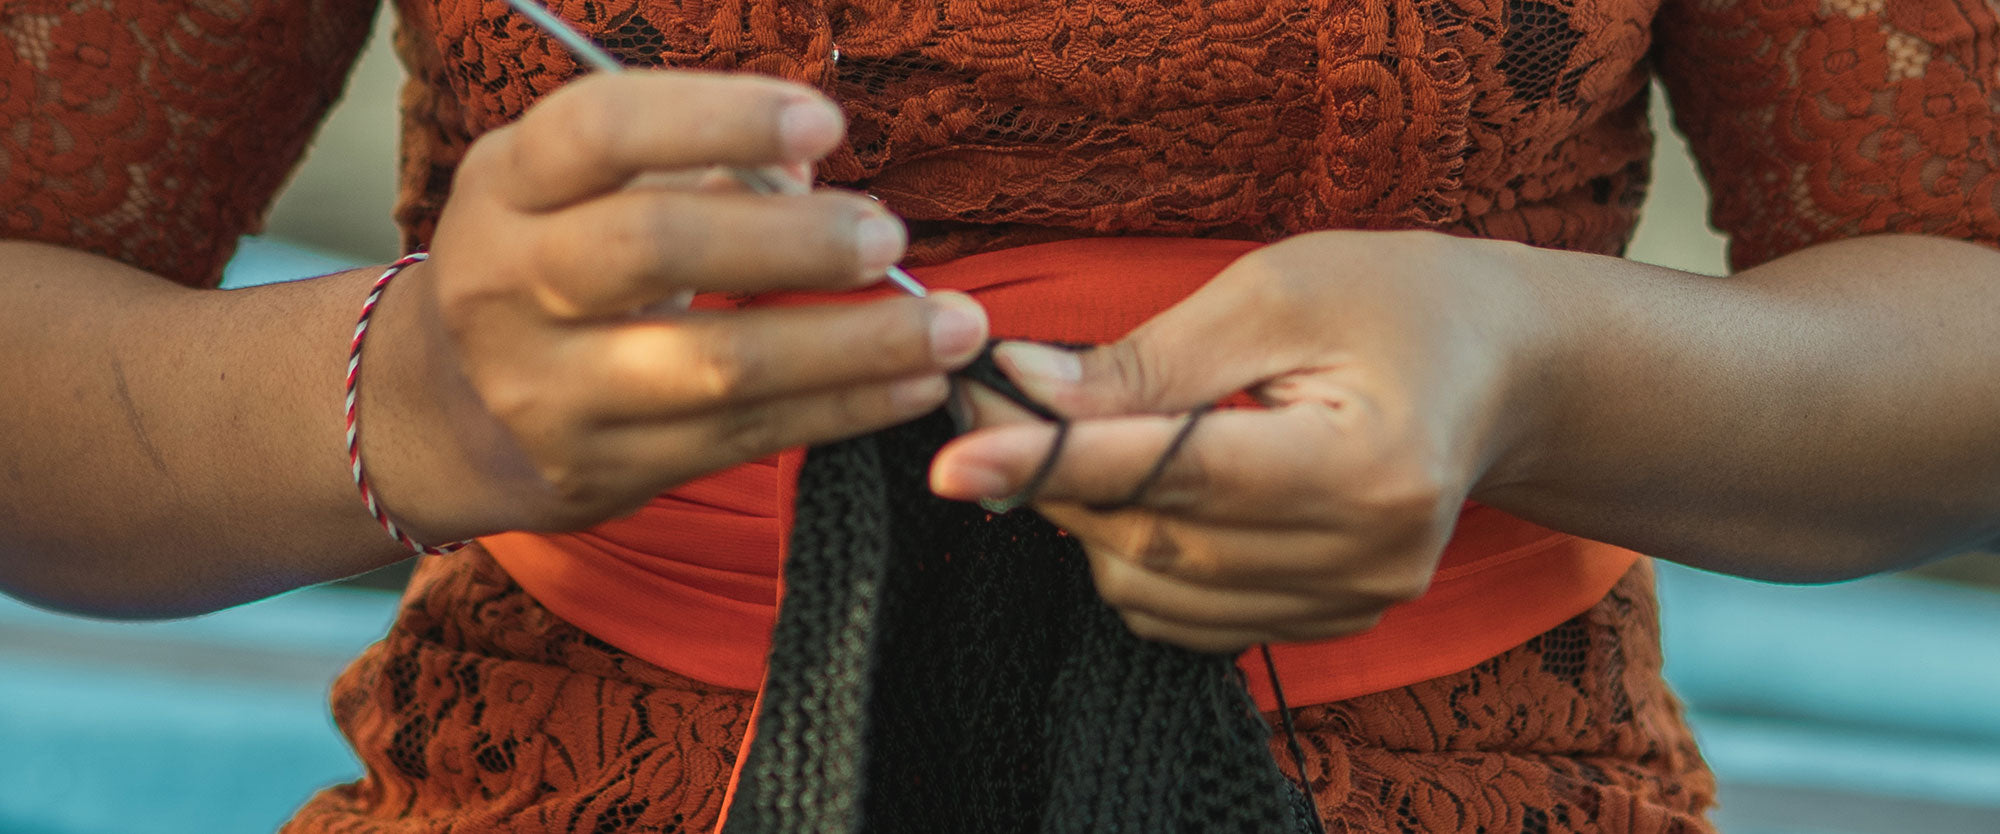
Welcome back to Crochet at Home!
In this blog post, we will show you how to do a Single Stitch Crochet.
If this is your first time here, or you just need a simple reminder, you will want to reference our first blog post on how to do a Foundation Stitch.
So grab your yarn, crochet hook, and let's finish your Single Stitch Crochet!
1. Start with your foundation chain from the previous tutorial

2. To start the first stitch, insert the hook in the second chain from the hook

3. Yarn over the hook

4. Pull the chain loop over the yarn and over the top of the hook. You should now have 2 loops on the hook

5. Yarn over the hook again

6. Pull the 2 bottom loops over the yarn and over top of the crochet hook. Congratulations! You've finished 1 single crochet stitch!

7. To begin the 2nd stitch, insert the hook in the next chain. Don't skip a chain this time!

8. Continue down the chain until you have completed all 10 stitches

9. Turn your work so the crochet hook is on the right with your work to the left

10. Yarn over and then pull bottom loop over the yarn and over the top of the hook. This is called "Chaining Up," making a single chain to elevate your crochet to the next row


11. Tilt your work towards you. You should see a chain of V Shapes. To start the first stitch of the 2nd row, insert the hook under the first V

12. Continue the steps of a single chain stitch

13. Once you reach the end of the chain, turn your work and repeat!
Watch the full tutorial below!
Share with us on Instagram what you crocheted! #CraftAtHome @thesak
Stay tuned with our Craft at Home series for other fun projects!